If you love indoor gardening as much as I do, then you know how crucial it is to keep your plant soil clean and healthy. There’s nothing worse than watching your beloved plants suffer because of dirty soil. Not only does clean soil offer your plants the nutrients they need, but it also helps with drainage, aeration, and prevents pesky pests from taking up residence in your pots. It’s like giving your indoor garden a spa day!
But hey, I get it; cleaning soil might sound like a chore or something reserved for gardening pros. Trust me, I’ve been there! The good news? Cleaning your indoor plant soil can be simple, effective, and yes, even fun! So, let’s jump right in with some easy methods that you can totally pull off without breaking a sweat.
Table of Contents
- 1 Key Takeaways
- 2 Effective Methods for Cleaning Soil
- 3 Tips for Different Soil Types
- 4 Special Considerations for Indoor Plants
- 5 Benefits of Clean Soil
- 6 Practical Visual Guides and Resources
- 7 Frequently Asked Questions
- 7.1 How often should I clean my indoor plant soil?
- 7.2 What tools do I need for soil cleaning?
- 7.3 What are the signs that my plant’s soil needs cleaning?
- 7.4 Can I use tap water for soil cleaning?
- 7.5 Is cleaning soil necessary if I use commercially prepared potting mixes?
- 7.6 What should I do if my plants are not responding well after soil cleaning?
- 7.7 Are there specific soil cleaning methods recommended for different plant types?
- 7.8 How do organic additives improve my indoor plant soil?
- 7.9 Can soil cleaning help with houseplant pest issues?
- 7.10 What are the best practices for disposing of old soil?
Key Takeaways
- Boiling water is an effective method for killing pathogens in your soil with minimal effort.
- Sunlight exposure can be a natural way to disinfect your soil and promote a healthier growing environment.
- A vinegar and water solution offers a homemade approach to cleaning that’s gentle on plants.
- You can microwave your soil for a quick and efficient sterilization.
- Natural additives are perfect for not just cleaning but also enhancing the quality of your soil for optimal plant growth.
Effective Methods for Cleaning Soil
Let’s get straight into the juicy details! Each method I’m about to share has its unique perks and is super easy to do right in your home. You’ll feel like a total pro in no time!
Method 1: Using Boiling Water
Alright, let’s kick things off with boiling water. This technique is a favorite of mine because it’s straightforward and packed with power. You just bring a kettle of water to a rolling boil and pour it over your soil. This high temperature will annihilate any pathogens lurking in there—killing off bacteria, fungi, and pests in one fell swoop!
“Hot water is nature’s cleaner, zapping unwanted visitors and leaving your soil fresh and revitalized.”
Here’s how to do it:
1. Remove your plant from its pot—be gentle with those roots!
2. Place the soil in a heat-safe container.
3. Carefully pour the boiling water on the soil, ensuring it’s thoroughly soaked.
4. Allow it to cool completely before re-packing it into the pot.
Just a heads-up, this method might kill off some beneficial microbes, so make sure to replenish your soil with nutrients afterward. The Gardener’s Supply Company has great organic fertilizers around $10 that can help restore your soil to its former glory.
Method 2: Sunlight Exposure
Next up, we have sunlight exposure. You’ll love this method if you enjoy getting a bit of fresh air and sunlight—you know, perfect for a nice weekend project. Simply spreading your soil out in the sun can work wonders. The UV rays will naturally kill off diseases and pests without using harsh chemicals.
Here’s how to do it:
1. Lay your soil out on a clean, non-toxic surface like a large baking sheet or tarp.
2. Let it bask in the sun for about 4-6 hours. The peak sun is usually the best for this, so consider mid-morning to early afternoon.
3. Once it’s had its sunbath, mix it well to aerate and rehydrate before restarting your plant’s pot.
Not only is this method effective, but it’s also super eco-friendly, which is something I can get behind. Plus, your plants will love you for it!
Method 3: Vinegar and Water Solution
Now, if you’re looking for a homemade solution that really packs a punch, a vinegar and water mixture might be your new BFF. Vinegar is known for its antibacterial properties, making it a natural way to clean your soil without introducing any harmful chemicals.
Here’s how to mix it up:
1. Grab a spray bottle and mix one part vinegar to three parts water.
2. Remove the plant, as always, and then spray the affected soil generously.
3. Let it sit for about 30 minutes to allow that acidity to work its magic before planting it back in.
You can use regular distilled white vinegar—it’s usually around $2 for a decent bottle at your local grocery store. This method can also help with pesky molds or gnats that sometimes invade your potting soil. Just keep in mind that some plants may not react well to vinegar, so make sure to check what your specific plant can handle.
Method 4: Using a Microwave
Let’s kick it up a notch with the microwave. Yes, you read that right! Microwaving your soil is a simple yet effective method to sterilize it in no time. Just think of it like giving your soil a super quick treatment, and it’s perfect for those of us that might need to clean soil on the fly.
Here’s how to work the microwave magic:
1. Fill a microwave-safe container with your soil. Make sure it’s damp—not soaking wet. Just a little water to keep the moisture.
2. Cover the container with a microwave-safe lid or even a piece of wax paper. This keeps moisture in.
3. Microwave on high for about 90 seconds to 2 minutes, depending on your microwave’s power.
“Microwaving can help eliminate many common pests and diseases. Just be careful—it’s hot, after all!”
Let your soil cool off before using it again. It’s that simple! Another bonus? You get to bypass any unpleasant odors that might linger in the soil since the heat does a great job at neutralizing them.
Method 5: Natural Additives for Soil Improvement
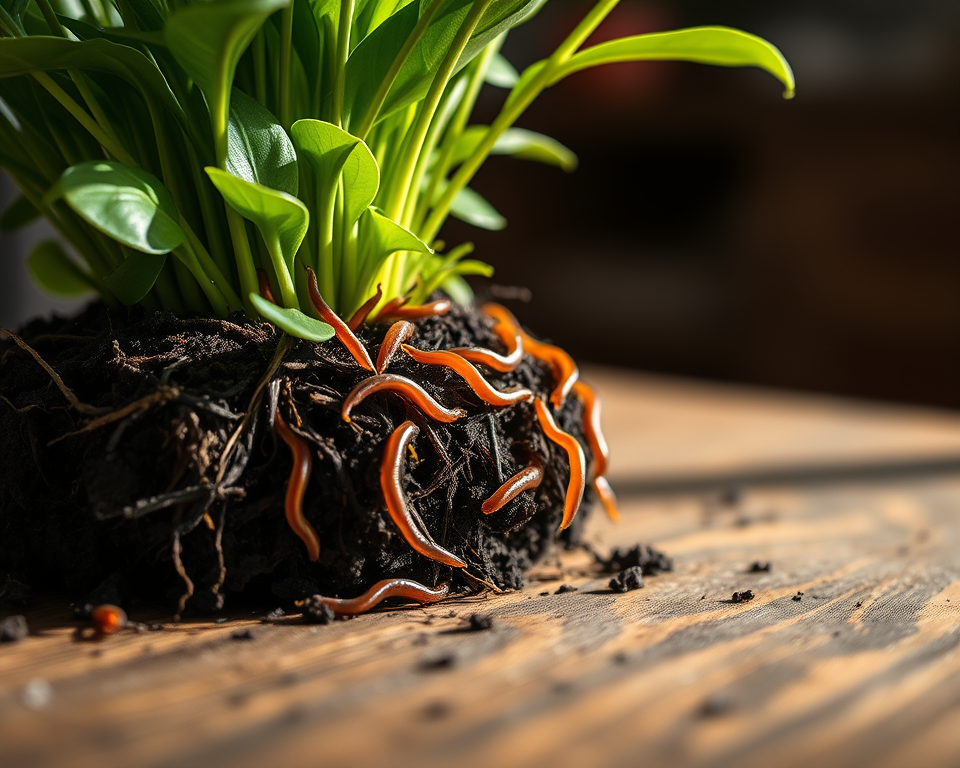
Finally, let’s wrap it up with natural additives. This one’s not just about cleaning; it’s about enriching that soil for even better plant health. Natural additives like worm castings, compost, or even ground eggshells can enhance soil quality and help create a thriving environment for your plants.
To boost your soil:
1. Mix in about 20% of organic compost or worm castings into your existing soil.
2. For a calcium boost and to help control pH, sprinkle in crushed eggshells—just rinse and dry them first.
3. Combine thoroughly to distribute these nutrients evenly.
I’m telling you, using organics not only cleans your soil but also enhances it. You can grab a bag of worm castings from brands like Worm Power, which runs about $10 for a 2-pound bag. Your plants will soak it right up and thrive!
Tips for Different Soil Types
Different soil types can pose unique challenges and opportunities. Knowing how to clean clay versus sandy soil can save you time and hassle!
Understanding Potting Soil Needs
Potting soil often contains a mix of various materials designed to optimize moisture retention and drainage. Knowing the makeup of your potting soil is critical. Regular potting mix usually has peat moss, compost, and vermiculite or perlite to help aerate the soil.
How to Clean Clay Soil vs. Sandy Soil
When dealing with clay soil, you need to be gentler. It’s thick and holds moisture, but it can easily become compacted. Cleaning clay involves more of a lifting action rather than a mixing action to avoid packing it down.
- For clay soil: Use a gentle hand and avoid over-watering. You might want to hydrate it slightly with water before the cleaning method.
- For sandy soil: This one’s easier! Just expose it to sunlight, and you’ll see it dry out and become less compact.
| Soil Type | Cleaning Method | Tips |
|---|---|---|
| Clay | Gentle mixing, boiling water | Amend with organic matter |
| Sandy | Sunlight exposure, microwave | Keep it loose and aerated |
Special Considerations for Indoor Plants
Cleaning soil isn’t just about the dirt; it’s also crucial for the health and well-being of your indoor plants.
Safety Precautions When Cleaning Soil
Always remember to wear gloves when cleaning soil—especially if you’re using vinegar or boiling water. It’s about protecting your hands and avoiding any unwanted exposure to pathogens. Also, ensure that you wash your hands thoroughly after manipulating soil, just in case.
You want to avoid cross-contaminating your healthy plants with soil that could harbor diseases. Being cautious while re-potting can keep your whole indoor garden thriving!
Benefits of Clean Soil
Let’s talk benefits. Clean soil is essential for healthy plants. If your soil is dirty, it can harbor pests, diseases, and all kinds of nastiness that could lead to the downfall of your beloved houseplants.
Environmental and Health Benefits
Sustainable gardening practices are the way to go! By using natural cleaning methods, not only are you protecting your plants, but you’re also contributing to a healthier environment. Clean soil allows for better water retention, less runoff, and ultimately, a healthier ecosystem both indoors and out.
Troubleshooting Common Soil Issues
Every gardener faces soil issues—whether it’s compacted soil, pests, or mold growth. Clean soil helps prevent these issues from developing and offers long-term health benefits.
Common Issues and Solutions
- Compact Soil: Aerate using natural additives or gentle mixing.
- Pests: Use the boiling water method or vinegar spray to eliminate pests.
- Mold Growth: Excess water and humidity are the enemies! Keep track of moisture levels and utilize sunlight when necessary.
Practical Visual Guides and Resources
Visual aids can be a gardener’s best friend, especially when it comes to cleaning soil. Before-and-after photographs are fantastic, showing not just the immediate impact of cleaning methods but also the ongoing health of your plants.
Before and After Soil Cleaning Examples
Consider taking pictures before and after cleaning your soil. It helps build your confidence and gives visual proof that your hard work pays off!
“Seeing the transformation can motivate you to keep your gardening game strong!”
Community Tips and Testimonials
The gardening community is filled with amazing people sharing their secrets. Join local gardening groups, take part in plant swaps, or look for online forums. You’ll find tons of shared experiences and tips that can enhance your soil cleaning journey. It’s great to connect—even if it’s via a screen!
Being part of a community offers real-world insights that transcend what you can read in books or online. Plus, hearing testimonials of successful gardeners can be such an emotional boost!
Now that you’re armed with all these methods, tips, and insights into cleaning your indoor plant soil like a pro, it’s time to get your hands dirty—and I mean that in the best way possible! Your plants are going to thank you for the love and care you put into their soil. Happy gardening!
Frequently Asked Questions
How often should I clean my indoor plant soil?
Cleaning your indoor plant soil is not an everyday task. Aim to clean or refresh the soil every 6 to 12 months, or whenever you notice a buildup of debris, pests, or a decline in plant health. Regular observation will help you determine the best schedule for your plants.
What tools do I need for soil cleaning?
For effective soil cleaning, you typically need boiling water (for sterilization), containers for mixing solutions, vinegar or other cleaning agents, and a microwave-safe dish if using the microwave method. Basic gardening tools like gloves and a trowel may also be beneficial during the process.
What are the signs that my plant’s soil needs cleaning?
Symptoms that indicate a need for soil cleaning include persistent odors, mold growth, lack of drainage, or visible pests. Additionally, if your plant appears unhealthy or shows stunted growth despite proper care, it’s a good time to assess the cleanliness of the soil.
Can I use tap water for soil cleaning?
Yes, tap water can be used, but boiling it first is recommended to kill pathogens and weed seeds. For a safer option, let the water sit for 24 hours to allow chlorine to evaporate before using it on the soil.
Is cleaning soil necessary if I use commercially prepared potting mixes?
Even with commercial potting mixes, cleaning your soil can be beneficial. These mixes can still harbor pests and pathogens over time. Regular cleaning helps maintain a healthy environment for your plants, ensuring optimal growth and resilience.
What should I do if my plants are not responding well after soil cleaning?
If your plants are struggling post-cleaning, it may be due to a shock from changes in the soil environment, overwatering, or improper sterilization. Check moisture levels, adjust your care routine, and ensure the new soil meets specific plant requirements before troubleshooting further.
Are there specific soil cleaning methods recommended for different plant types?
Yes, different plants have varying needs. For succulent soil, it’s best to use dryer methods like sunlight exposure, while moisture-retaining plants might benefit from cleaning techniques involving water solutions. Tailoring your approach based on plant type can enhance soil health.
How do organic additives improve my indoor plant soil?
Organic additives, such as compost and worm castings, enrich the soil with nutrients and improve its structure, moisture retention, and aeration. This not only supports plant health but also encourages beneficial microbes, leading to a more balanced soil ecosystem.
Can soil cleaning help with houseplant pest issues?
Absolutely! Many soil cleaning methods can help eliminate pests and their eggs, reducing infestations. For best results, combine soil cleaning with proper plant care and pest management strategies to ensure long-term improvement in plant health.
What are the best practices for disposing of old soil?
When disposing of old soil, avoid placing it in your garden to prevent the spread of pests or pathogens. Instead, compost it (if safe), use it in non-planting areas, or throw it away in a sealed bag. Always check local regulations regarding waste disposal for gardening materials.